Making a multi-column content section with Drupal Paragraphs and Bootstrap
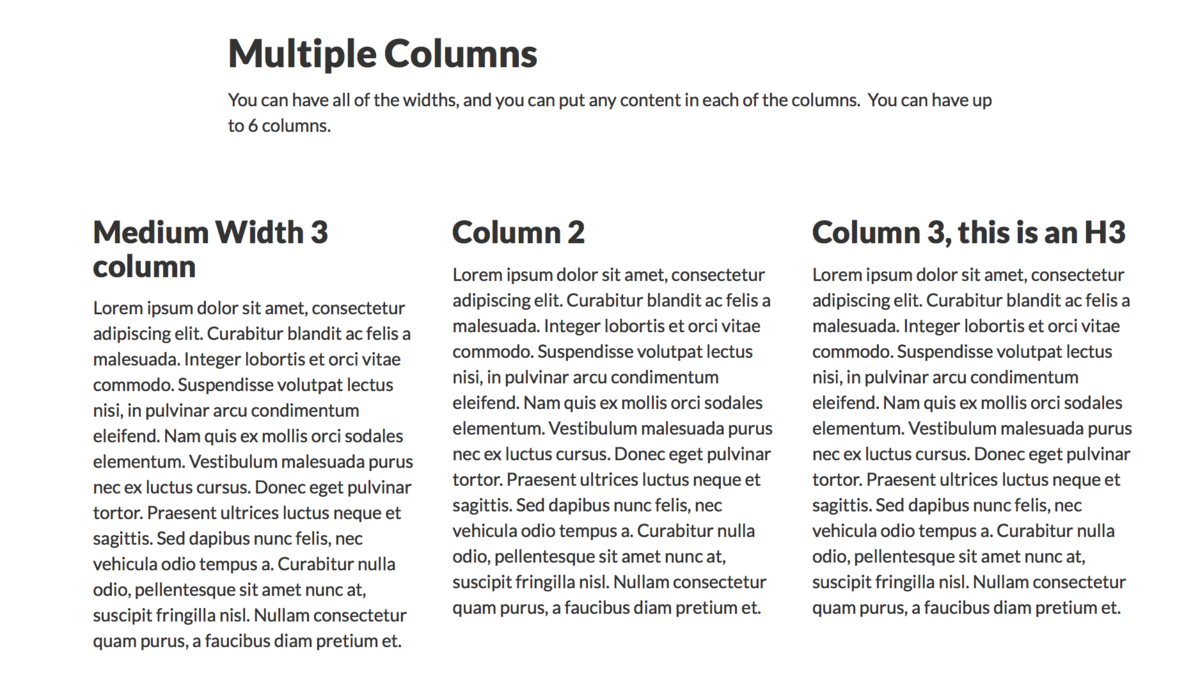
The Drupal Paragraphs module allows developers to created chunks of content, allowing admins to have more defined control than they would have in a normal WYSIWYG. In this post, I will explain how to create a single paragraph bundle that can be used to display a 2, 3, 4, or 6 column layout. In each of these columns, we will be able to use any Paragraph bundles that we define.
This post covers how to do it in Drupal 8, but the process for Drupal 7 is very similar, just the markup in the template would be different.
Once you have the Paragraphs module installed, go to Structure > Paragraph types to click the Add paragraphs type button. Paragraph types are entities, just like Nodes (Content Types). They don't have Titles or URLs like nodes do, but they are revision-able, and take fields. If you are new Paragraphs, take some time to create a few Paragraph types that fit your content needs. I always create a "Simple" type, Paragraph that has a Text (formatted, long) field. This fills the need for adding text to the page. I also create an "Image" Paragraph type that has an Entity reference field to the Image Media bundle.
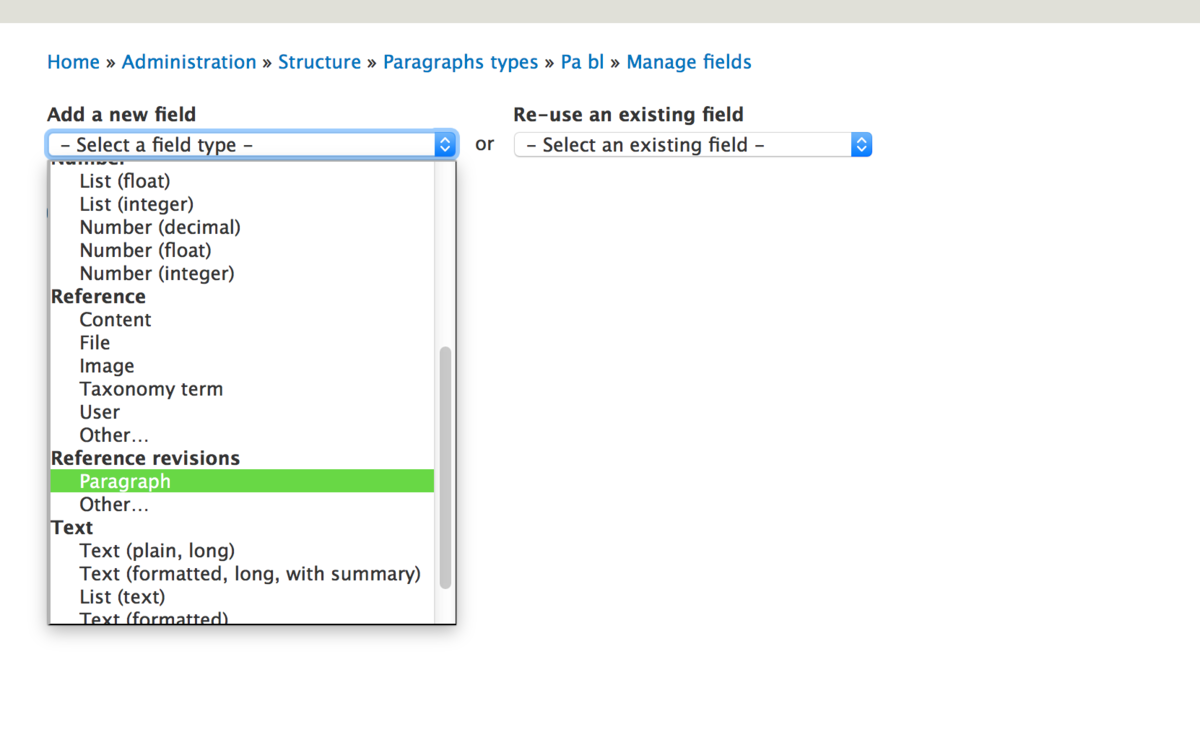
Now that we have some base paragraphs, we can add our multi-column Paragraph. Add a field, that will be a reference field to other paragraphs. On the Add field screen, in the Add a new field dropdown, select Paragraph under Reference revisions.
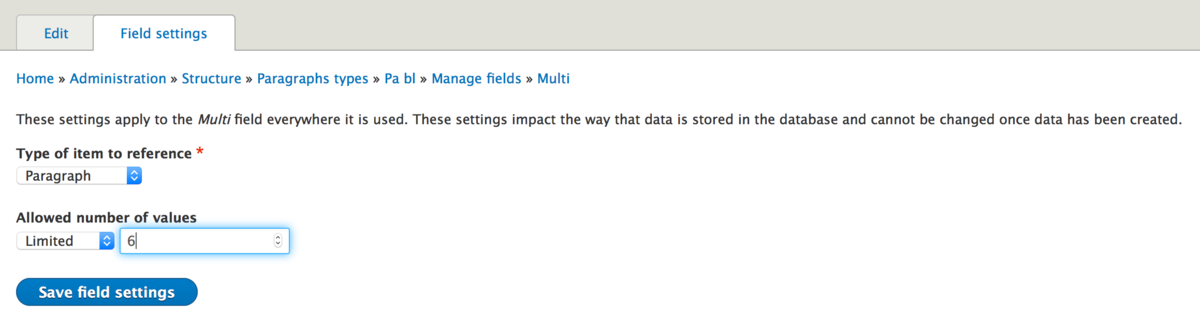
On the next screen, the Field settings screen, select how many items to allow the user to set. After working on this system on the last few sites I have developed, I have decided on limiting the user to 6. This way, I can define the CSS, and keep it managable, and useful.
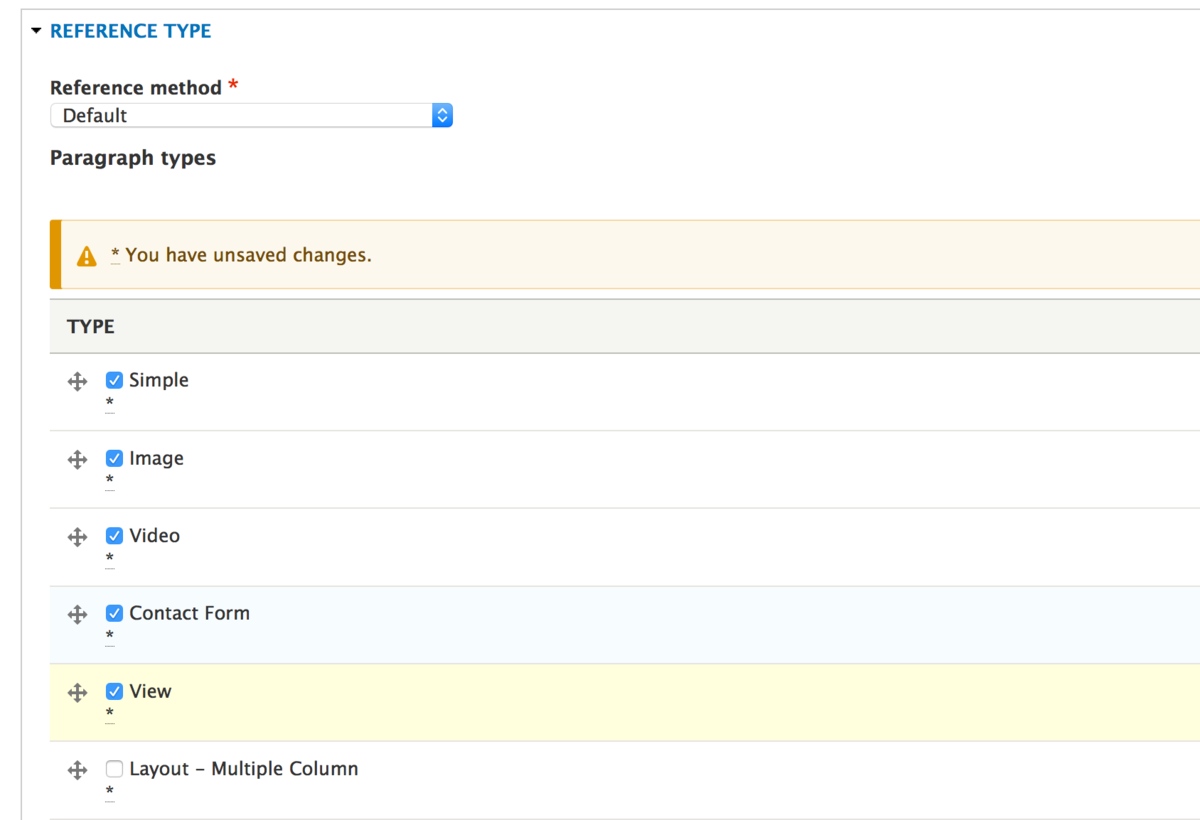
On the final screen, add your help text, and we can define which Paragraph types we are going to allow in each of these columns. I like to include the ones I want, which excludes once I don't. In this instance, I do not want to allow a Multi-column paragraph to be in this Multi-column paragraph, so I leave it not selected.
The defaults on the Manage Form are usually what you want. On the Manage Display screen you will most likely want to remove the Label from the display. We'll now move to code, first working on the Paragraphs template, then the field template.
Boostrap's grid system includes a Container, a Row, and the Columns. In this example, we have the Container and Row in our page template, and all we are concentrating now is the columns. In the LESS file below, you see that we set the default column for the page on .element.
Next, we will move onto the field template that will be called from this Paragraphs template:
It is the normal item in items loop we have come to expect in Drupal, but I use the Twig loop.length function to add a unique class. If there are 2 items in the field, then the .element--layout-columns__2col class is applied. If there are 4, then element--layout-columns__4col is applied. I set the appropriate CSS below.
Here is the LESS file used to compile into our final CSS. At the top, you can see that the .element class is set as the column defaults. We then remove the margin, padding, and other Boostrap styling if a .element is inside another .element. We can then apply the columns styles based on how many there are.
Of note is that I do not define a 5 column layout, I give them the same styles as 6 column. This is because Boostrap is a grid system based on 12 column. If you are rolling your own grid system, please adjust as needed.
You can now compile this LESS file into your CSS and you are ready to go. Go to a Content type and add a Paragraphs field or add this to your existing Paragraphs field, and you will be able to easily add content in columns!