Drupal 7: Scheduling Posts with Scheduler
The scheduling of posts was the first things I noticed that was missing from Drupal after moving over from Wordpress. Thanks to the Scheduler Module, we have that functionality back, with more control over what and who can access it.
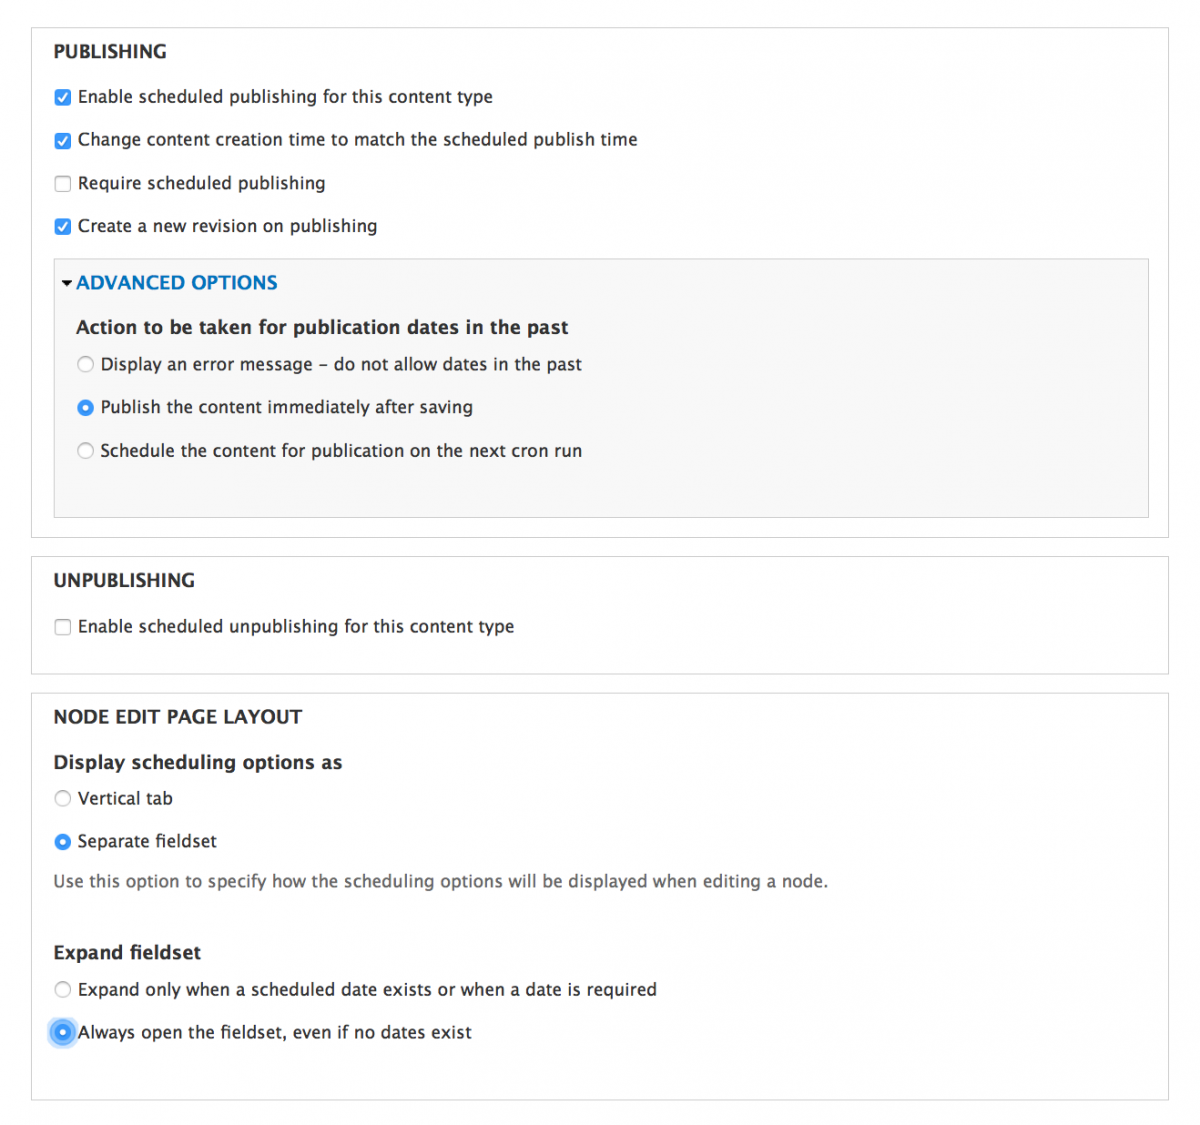
The Scheduler module allows for Publishing, and Unpublishing on a Content Type by Content Type basis. You can set up Scheduled Publishing on the Blog Content Type. Then, you can set up Scheduled Publish and Unpublishing on something like a Sale, or Contest Content Type. You can also control which roles have access to the scheduling functionality, and the ability to see what content is currently scheduled.
You want to make sure you have an external Cron/crontab setup on your server, and make it run at the time that you schedule to ensure that your posts go out on time. If no one is visiting your site, it is going to sit idle and cached. Cron sitting on the server, running on the server's clock, and the schedule you set up, will poke Drupal on that schedule just to say "Hey, How's it going over by there fella? You need to be doing anything right now?" Drupal is smart enough to say, "Yes, I need to do all of the things, thank you very much", and then does them.
Installing and Configuring Scheduler
- Download Scheduler
drush dl -y scheduler - Enable Scheduler
drush en -y scheduler - Set Scheduler's permissions:
- Administer scheduler - Set which roles can access the Configuration screens.
- Schedule content publication - Set which roles can schedule the publication and unpublication of noces.
- View scheduled content list - Set which roles can see a view of content that is scheduled to be published.
- Configure Scheduler at:
/admin/config/content/scheduler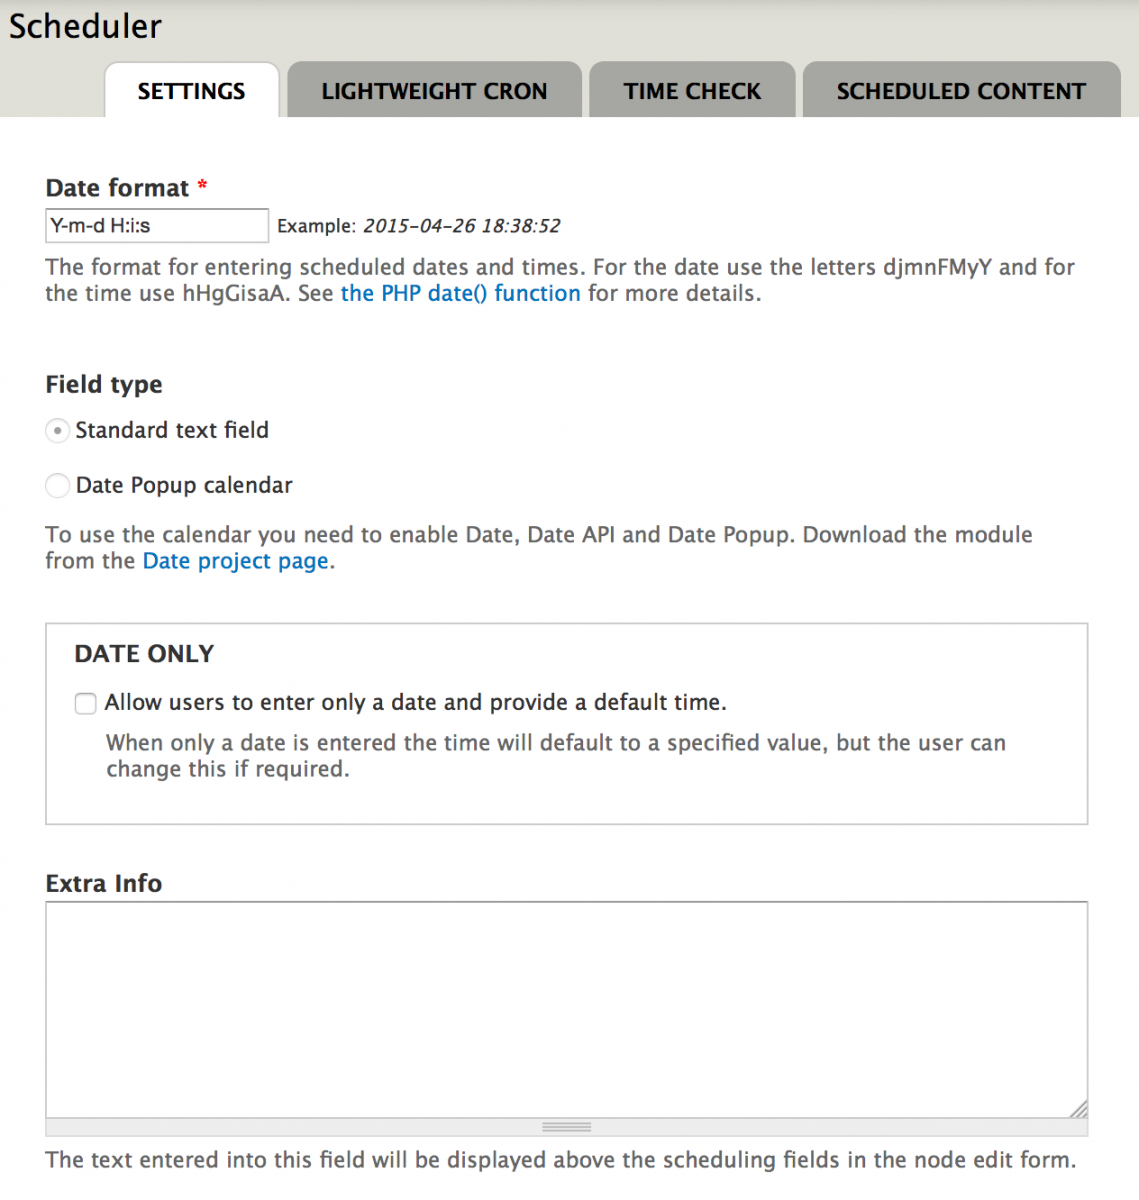
- After that, visit the first Content Type that you want to set up Scheduling for.

- Repeat for each type

Scheduling Content
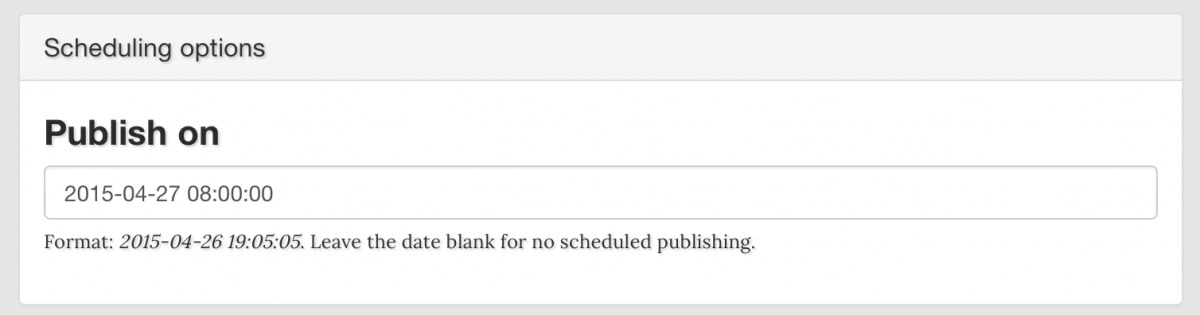
- Depending on how you configured the Content Type, the scheduling options will appear on your Node Add screens either in their own fieldsets, or in the Vertical Tab at the bottom of the screen.
- Type in the Date, or select the date if you use the Date/Date Popup Modules.

- Check the Published checkbox and click Save.
Not every website I've built has needed the scheduling of content, but when they do, Scheduler is a very easy solution to add and configure.